MSYS2を使ってWindows上でFDK-AACが組み込まれたffmpegをコンパイルする手順です。環境は Windows 11 Version 22H2 64bit です。
MSYS2のインストール
まずは、MSYS2の公式サイトから最新のインストーラーをダウンロードします (2022年12月17日現在、最新版はmsys2-x86_64-20221216.exe)

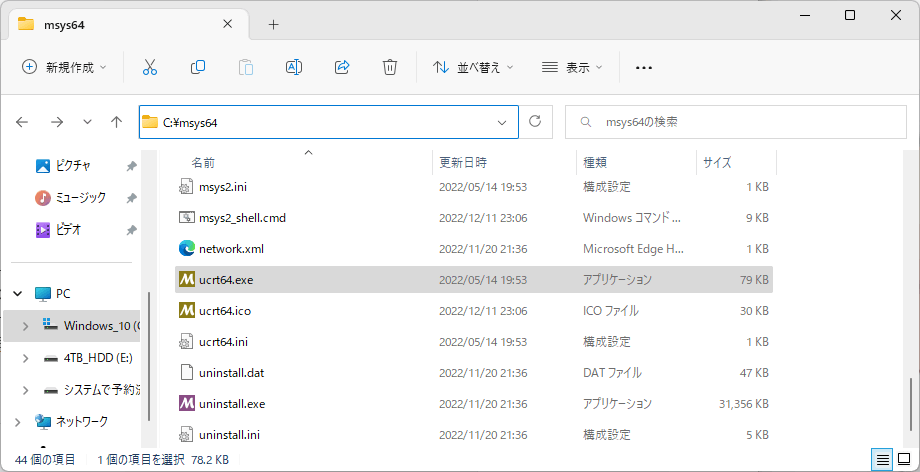
先程ダウンロードしたインストーラーをダブルクリックし、初期設定のまま何も変更せずウィザードに従ってインストールします (デフォルトでは C:\msys64 にインストールされます)
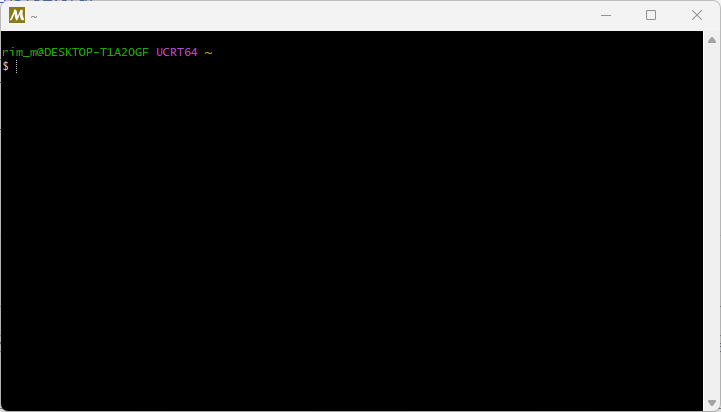
以下のような端末(ターミナル)が開いたら、MSYS2のインストールは完了です。
ffmpegのビルドに必要なものをインストール
次に以下のコマンドを実行してMSYS2を最新の状態にします。
$ pacman -Syu更新が完了したら一旦 [ X ] ボタンをクリックして端末を閉じ、再度「ucrt64.exe」をダブルクリックして開いてください。
ffmpegをコンパイルするために必要なものを色々とインストールします。
$ pacman -S base-devel mingw-w64-ucrt-x86_64-toolchain mingw-w64-ucrt-x86_64-gcc mingw-w64-ucrt-x86_64-libunistring mingw-w64-ucrt-x86_64-perl mingw-w64-ucrt-x86_64-SDL2 nasm yasm wget git unzip p7zip make cmake tar automake autoconf libtool pkg-config mercurialffmpegに組み込むライブラリをインストール
ffmpegに組み込むライブラリは各自、用途や目的に合わせて追加したり減らしたりしてください。
$ pacman -S mingw-w64-ucrt-x86_64-x265 mingw-w64-ucrt-x86_64-lame mingw-w64-ucrt-x86_64-openssl mingw-w64-ucrt-x86_64-ffnvcodec-headers mingw-w64-ucrt-x86_64-libwebp mingw-w64-ucrt-x86_64-wavpack mingw-w64-ucrt-x86_64-openjpeg2 mingw-w64-ucrt-x86_64-aomx264のインストール
fprofiled を利用する場合
make fprofiledする際のサンプル動画 (y4mファイル) は こちら にあるので必要であればダウンロードしてC:\msys64\home\xxxxxx\ 直下に置いてください (xxxxxxにはユーザー名が入ります)。
7zipで圧縮されているので解凍すると、x264_sample.y4m が出てきます。
$ 7z x ~/x264_sample.7z && rm ~/x264_sample.7zmake の後にある -j は、複数のスレッドで並列処理を行うことでコンパイル速度を高速化するオプションです。引数を指定しない場合、CPUの並列処理能力をフルに使います。
$ cd ~
$ git clone --depth 1 https://code.videolan.org/videolan/x264.git
$ cd x264
$ ./configure --prefix=/ucrt64 --enable-static --enable-pic
$ make fprofiled VIDS=../x264_sample.y4m -j
$ make install
fprofiled を利用しない場合
$ cd ~
$ git clone --depth 1 https://code.videolan.org/videolan/x264.git
$ cd x264
$ ./configure --prefix=/ucrt64 --enable-static --enable-pic
$ make -j
$ make install
libvpxのインストール
$ cd ~
$ git clone https://chromium.googlesource.com/webm/libvpx.git
$ cd libvpx
$ ./configure --prefix=/ucrt64 --disable-examples --disable-unit-tests --enable-vp9-highbitdepth --as=yasm
$ make -j
$ make install
liboggのインストール
$ cd ~
$ wget -O libogg-1.3.5.tar.gz https://downloads.xiph.org/releases/ogg/libogg-1.3.5.tar.gz
$ tar -zxvf libogg-1.3.5.tar.gz
$ cd libogg-1.3.5
$ ./configure --prefix=/ucrt64 --disable-shared
$ make -j
$ make install
aoTuV (libvorbis) のインストール
$ cd ~
$ git clone https://github.com/AO-Yumi/vorbis_aotuv.git
$ cd vorbis_aotuv
$ ./configure --prefix=/ucrt64 --disable-shared
$ make -j
$ make install
libopus のインストール
$ cd ~
$ git clone --depth 1 https://github.com/xiph/opus.git
$ cd opus
$ ./autogen.sh
$ ./configure --prefix=/ucrt64 --disable-shared
$ make -j
$ make install
fdk-aac のインストール
注: FDK-AACを組み込んだffmpegはライセンスの関係上配布ができません。
$ cd ~
$ git clone --depth 1 https://github.com/mstorsjo/fdk-aac.git
$ cd fdk-aac
$ autoreconf -fiv

$ ./configure --prefix=/ucrt64 --disable-shared
$ make -j
$ make install
ffmpeg のコンパイル
$ cd ~
$ wget -O ffmpeg-snapshot.tar.bz2 https://ffmpeg.org/releases/ffmpeg-snapshot.tar.bz2
$ tar -jxvf ffmpeg-snapshot.tar.bz2
$ cd ffmpeg
$ ./configure --enable-gpl --enable-version3 --enable-nonfree --enable-ffmpeg --disable-debug --disable-ffplay --disable-ffprobe --disable-doc --enable-libaom --enable-libx264 --enable-libx265 --enable-libvpx --enable-libvorbis --enable-libfdk-aac --enable-libopus --enable-libmp3lame --enable-libwebp --enable-libopenjpeg --enable-libopenh264 --enable-nvenc --enable-nvdec --extra-ldflags="-L/ucrt64/lib -static" --optflags="-O2 -finline-functions" --disable-shared --pkg-config-flags="--static" --enable-small --enable-runtime-cpudetect --enable-static --extra-libs=-static --extra-cflags=--static --arch=x86_64 --cpu=x86_64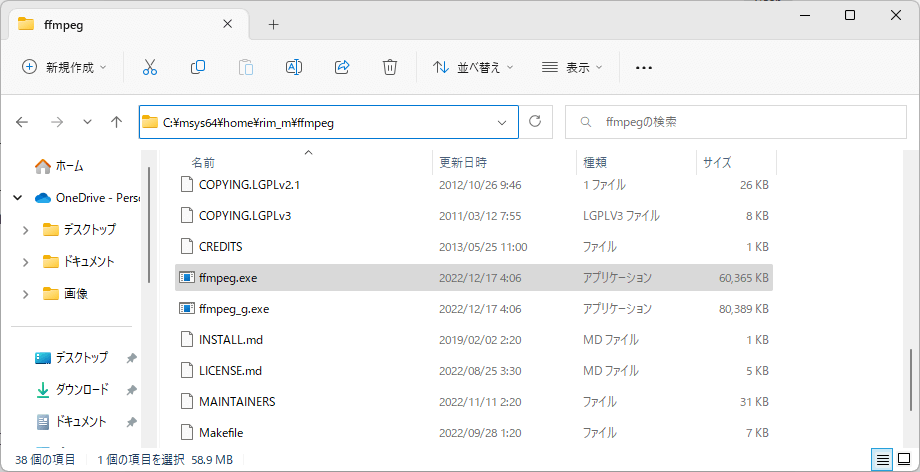
$ make -jC:\msys64\home\xxxxxx\ffmpegディレクトリに ffmpeg.exe があったらコンパイル完了です。
コンパイルしたffmpegを使って動画を変換してみる
「入力ファイルのパス」と「出力ファイルのパス」を指定して変換します。
$ ffmpeg -threads 0 -y -i [入力ファイルのパス] -c:v libx264 -mbd 2 -coder 1 -bufsize 8192k -g 300 -s 1280x720 -aspect 16:9 -r 30000/1001 -crf 20 -preset medium -tune animation -c:a libfdk_aac -b:a 128k -ac 2 -ar 44100 -filter:a volume=-2dB -f mp4 [出力ファイルのパス]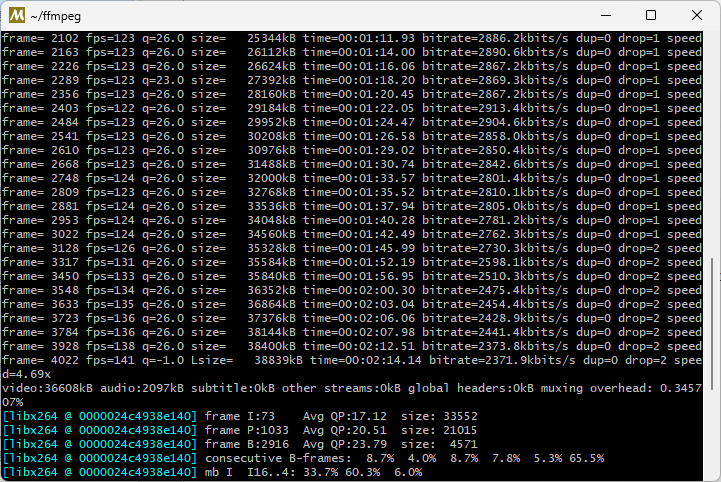
動画のエンコードが終わると変換された動画が出力されるので適当な動画プレイヤーで再生します。
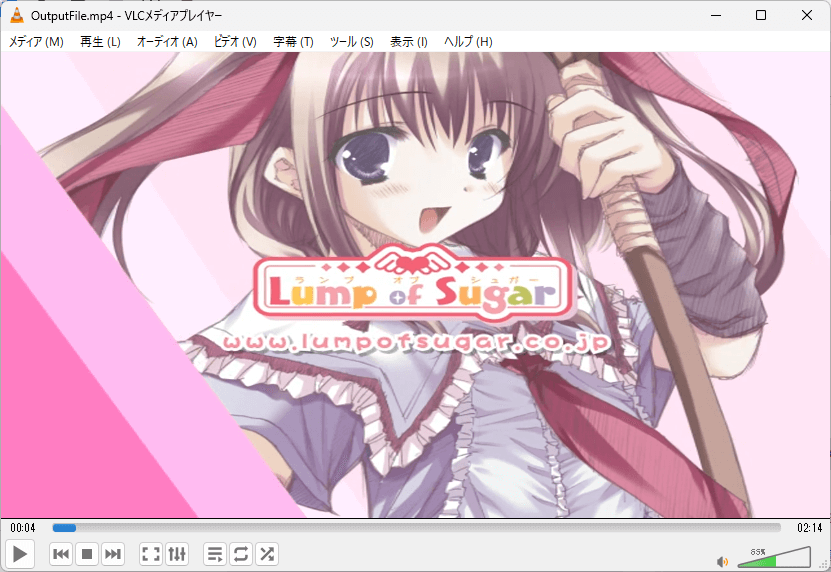
ちゃんと問題なく再生できたら成功です。お疲れ様でした。
参考にさせていただいたサイト様


コメント